
Creating a “Link in Bio” For Your Instagram
The “link in bio” call to action is super popular and most people either switch out their link for whatever they’re promoting at the time or have a LinkTree. I’m all about hosting as much as you can on your own platform, so I love creating Instagram link pages!
HOW do you do this, you ask!? I got you.
The downfall: it involves a little bit of code, but no worries, it’s simple and you’ll get all of the information you need!
Step 1: Create your Instagram Link Page
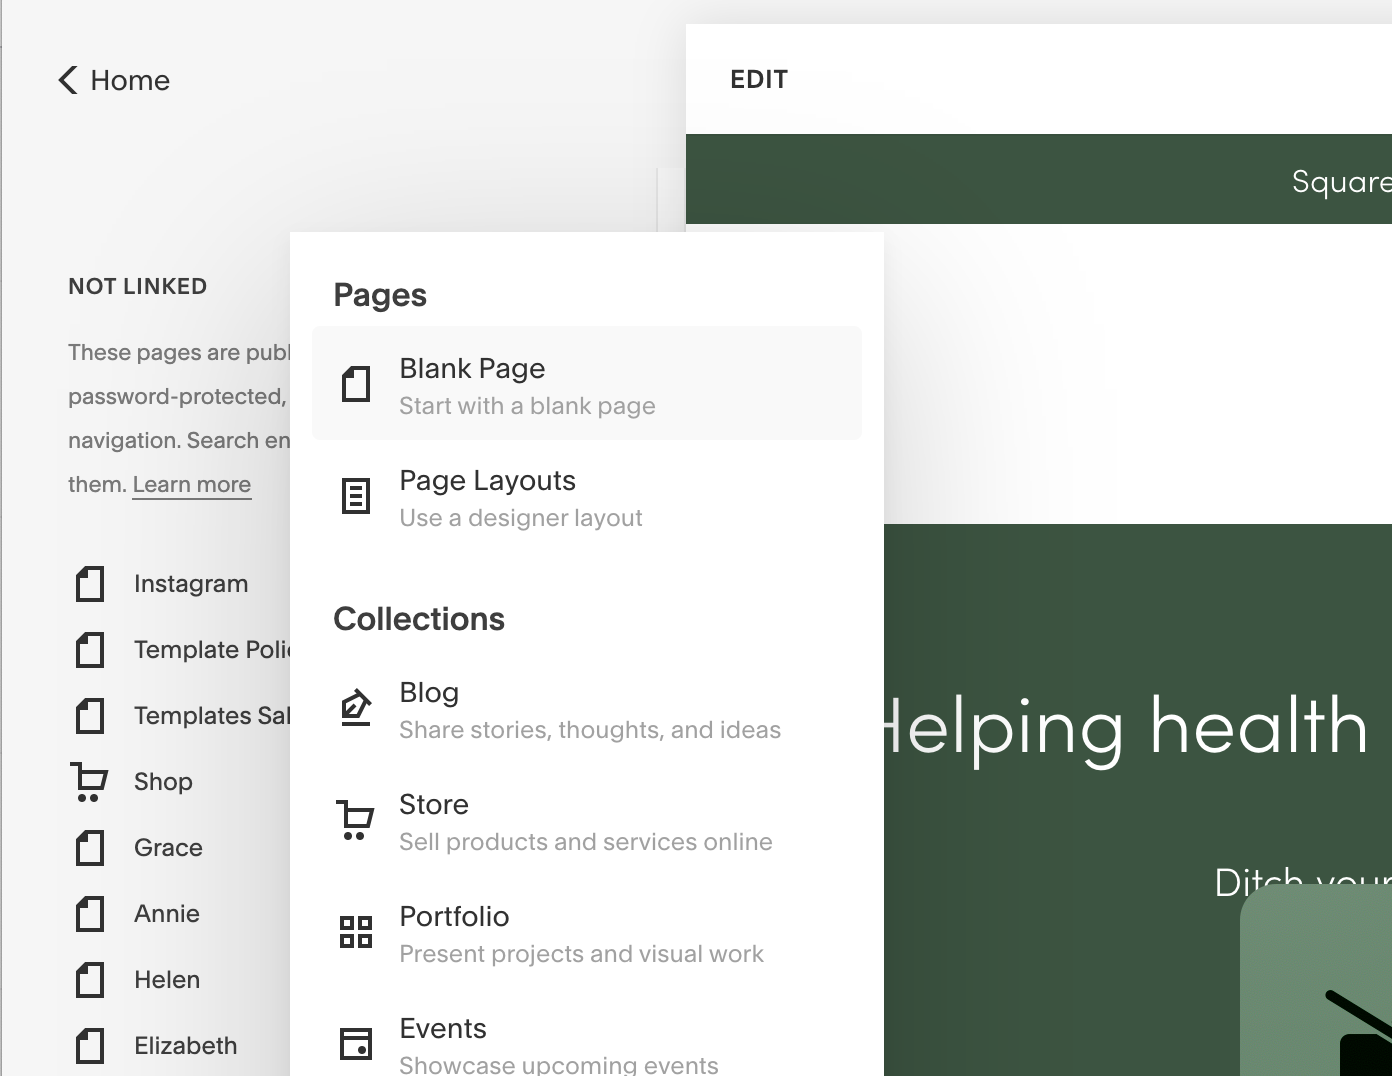
Go to your pages tab
Go to the “not linked” section and add a blank page
Name your page accordingly; this name is what will show in your bio. Some examples:
www.yoursitedomain.com/instagram
www.yoursitedomain.com/quicklinks
www.yoursitedomain.com/linkinbio
www.yoursitedomain.com/allthegoods
….I think you get it ;)
Step 2: Design your page
Typically this will involve a quick little header, maybe your logo, and some buttons.
Add your title
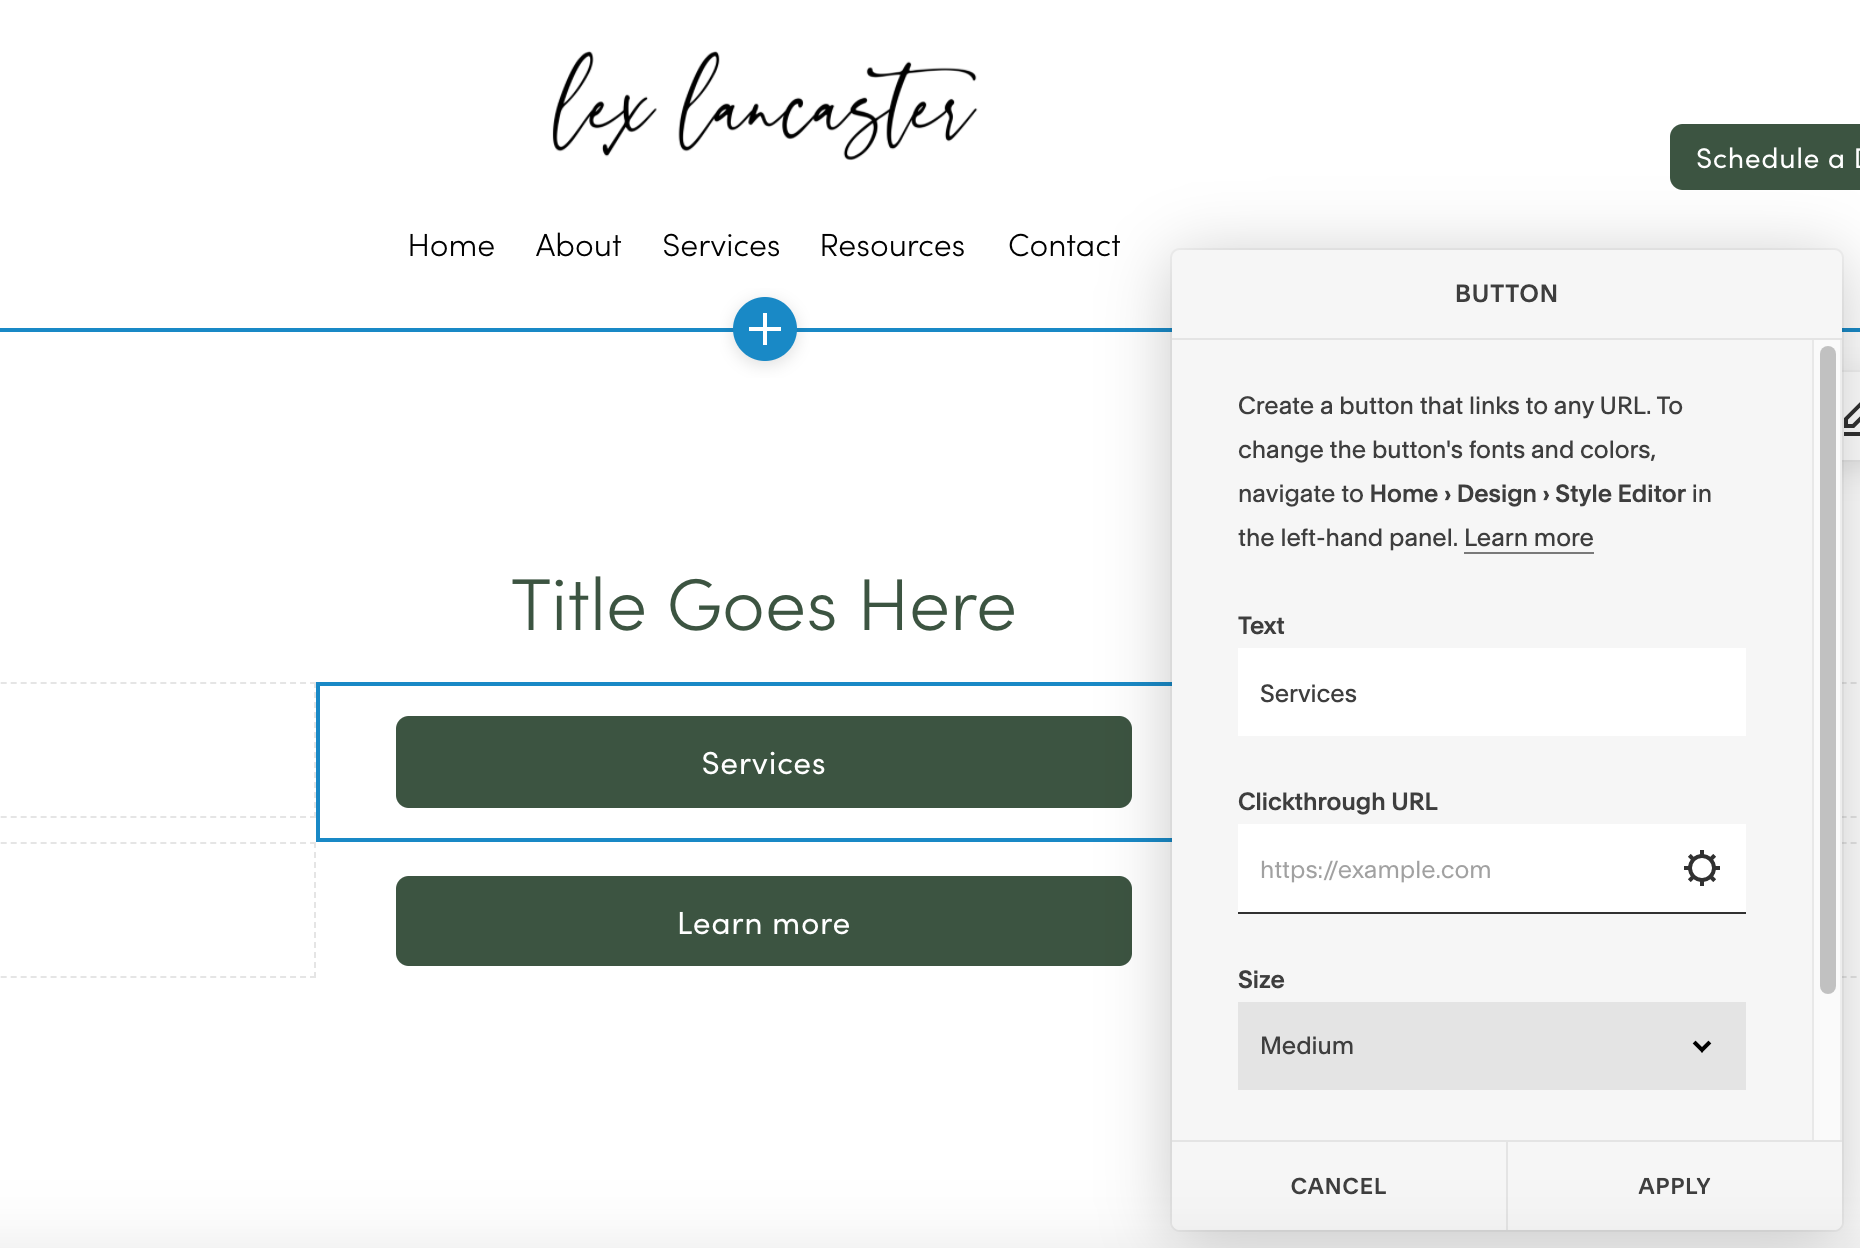
Add your buttons
Add spacer blocks or change your section width so the buttons aren’t huge!
I put a spacer block underneath my buttons as well to give the bottom of the page room to breathe! I highly recommend this.

Step 3: Link your buttons
Link them to a PDF, an email, a page on your website, a referral link, an offer, whatever you may need in that bio!

Step 4: Remove the header & footer on your IG link page!
You don’t necessarily want your header/footer on your IG link page (I mean maybe you do.. if that’s the case, then skip this step).
This is where a little bit of coding comes in.
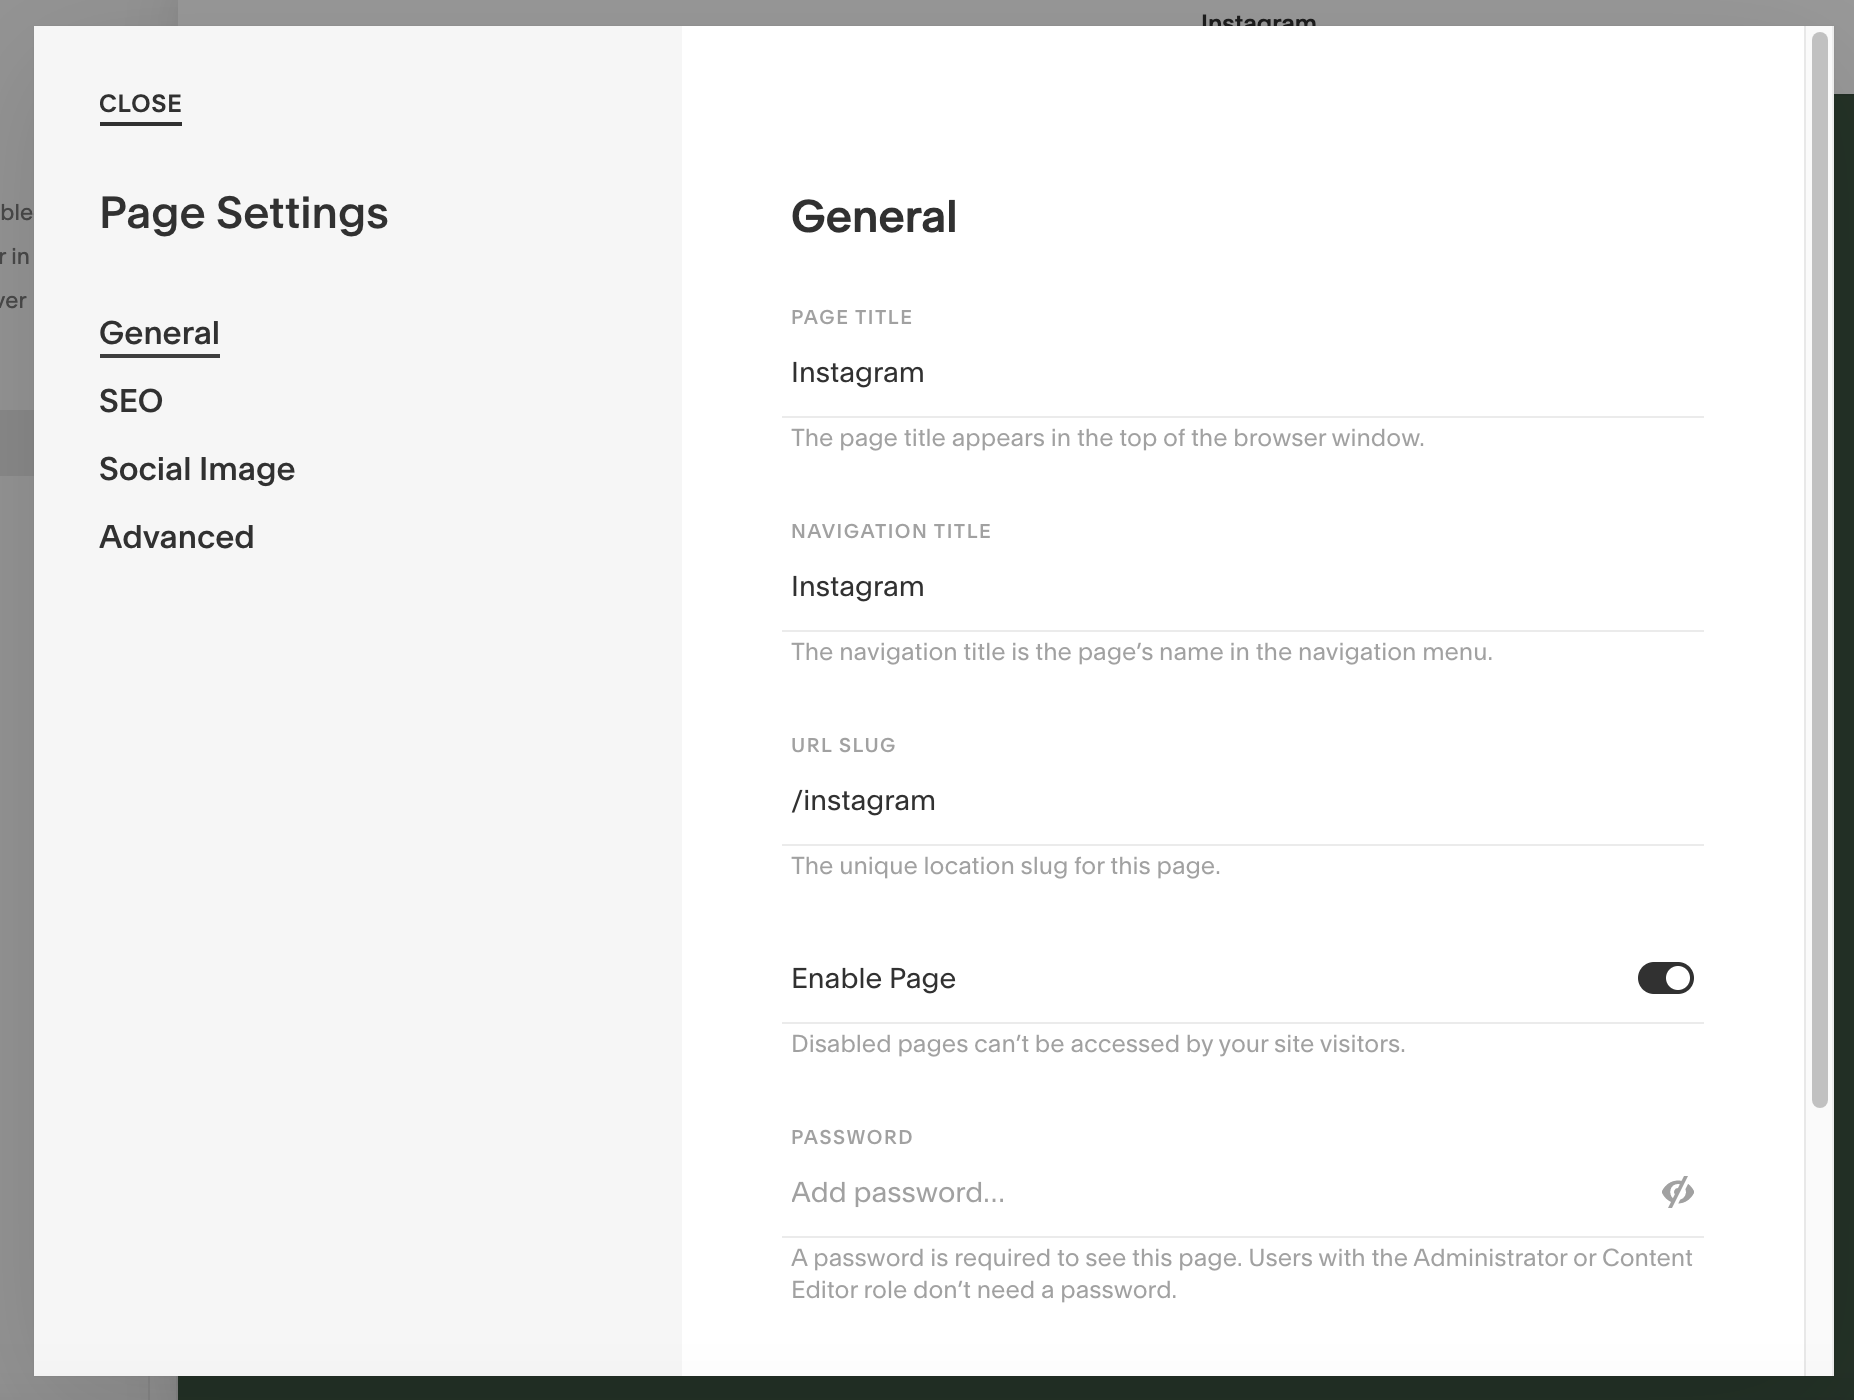
Go to the little gear icon next to the instagram page.
Click “advanced”
Paste the code below in the “header” code section.
<style>
.header, #footer-sections {
display:none !important;
}
</style>


Now you have a beautiful Instagram link page. Your last step is to put it in your instagram bio in the website section. Take that page name you created earlier and backslash it into your bio. See below.
—> Keep in mind that whatever the “url slug” is, is what the link to the page is (we talked about this in Step 1!

Have questions? Let me know!